Monday, November 24, 2014

AN HONEST EXCUSE AND WORKING ON SOME DIY RESTORATION HARDWARE STYLE ART FOR THE DINING ROOM...

Howdy!

It seems like posts are a little scarce around here lately. The truth, I have just not been feeling my best for quite some time. Not sure what the issue is but when you don't have health insurance there's no going to the doctor to find out so you just try and work your way through it. I am extremely fatigued most days and pretty much just all around miserable.

I have had this problem for a few years now; however, I used to have more good days than bad. In the past six months or so that has changed. I now have more bad days than good. Making it through my regular work day takes about all the energy I can muster anymore. Shoot, who am I kidding, getting out of bed in the morning takes all the energy I can muster. Work is a whole other problem.

Needless to say work and projects at home are few and far between and I have not been able to mark much off my to do list for the past several months. That's okay, the list of things to do will still be there when I am feeling up to doing them. They most certainly are not going away on their own! Hahaha.

Enough about all that though because I am not the type of person to roll over and let this thing kick my butt behind. I WILL win and to prove it I have mustered enough energy to start on a little DIY Restoration Hardware style art for my dining room makeover.

The inspiration piece for my new art is this GORGEOUS tall, slender Chrysler Building blueprint art from Restoration Hardware...


I also liked the Trajan's Column Etchings...


but neither was quite the design I wanted in the dining room (nor could I afford either) so I decided that I would make etchings of something more dining roomesque.

At first I thought two tall slender etchings of the leaning Tower of Pisa would be good (I need one on either side of my window in the DR) but then I got to thinking that I wouldn't like my art to appear as if it was "leaning" so I decided to go with Greek/Roman pillars instead.


It has taken me two weeks just to get to Lowes to get some 1/4" plywood cut to size (15" x 60")...


Get the wood painted and get the outline for my design in place...


I cut my design from clear contact paper and stuck it to the painted wood, added masking tape all around the edge to make a border and then paint over everything in a contrasting color...


Once it was dry I peeled the contact paper and tape away and was left with the beginnings of two gorgeous column etchings...


That was the easy parts. I still have to pencil (paint) in the "etchings" for each column with intricate details like this...


Yeah, wish me luck on that part...as I am NO artist!

Once that's done I will still need to seal everything and make frames.

In the condition I'm in it shouldn't take longer than oh let's say...another MONTH or so to complete these.

I really love how they are turning out though and you know I will be sure to share all the details with you as soon as they are finished.

This dining room makeover IS moving forward...even if it is at a snails pace.

What have you been up to lately? Got any projects going on?

Most likely you are busy preparing for the holiday weekend. Which brings me to wishing you and yours a very special Thanksgiving.  After all, rich or poor, great or small, we ALL have A LOT to be thankful for.

Ciao!!


Friday, November 14, 2014

A TRIP TO LITTLE ROCK, ARKANSAS...

TGIF y'all!

You must think I have flown the blogging coop with the shortage of posts lately.  Well, I guess in some ways you could say I have.  I spent the better part of last week away from home and away from blogging as I had the opportunity to join my husband on a business trip to Little Rock, Arkansas. Well actually Bryant, Arkansas which is a suburb of Little Rock.  Are there any bloggers from Arkansas out there?

We had a great time!  Arkansas is a beautiful state to visit.

Little Rock is about a 7 hour drive from our house and it's pretty much all two lane, backwoods, mountain roads, curvy and hilly all the way. It was a long drive for sure but very beautiful.

We drove through the mountains...


Did you know Arkansas has MOUNTAINS?  I had no idea.


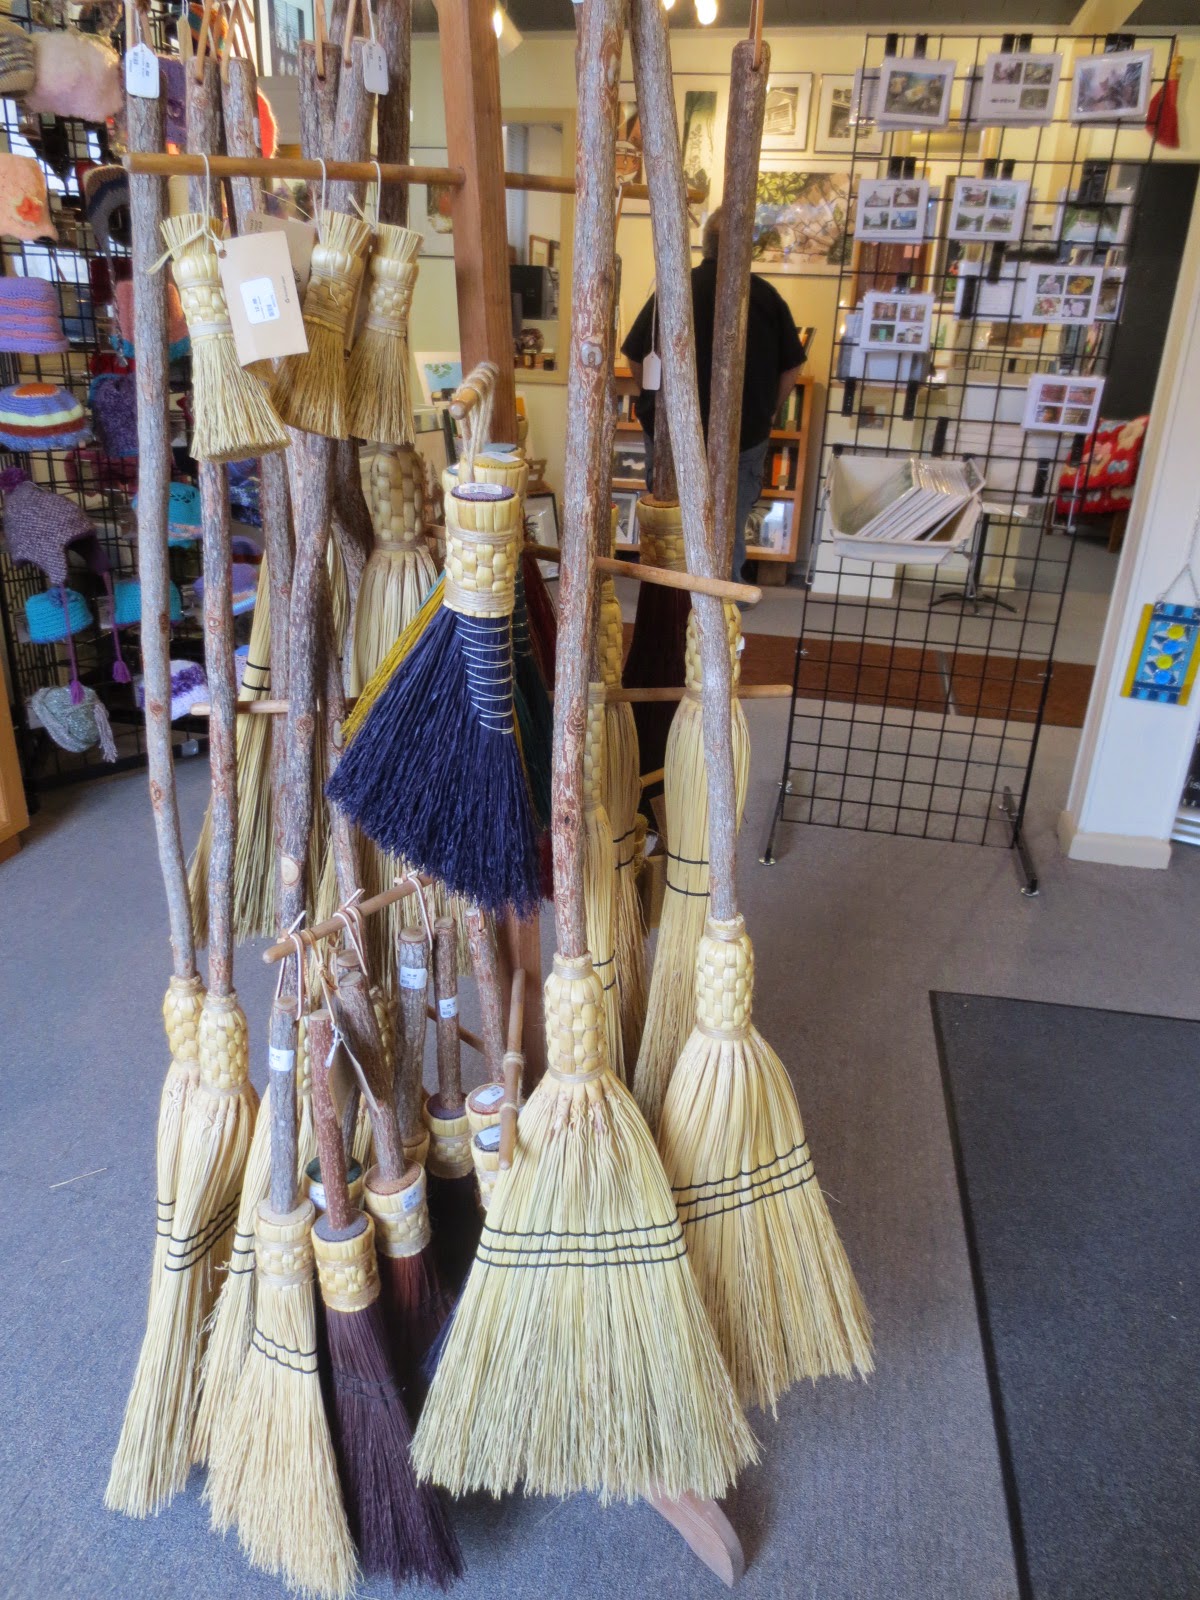
On the way we stopped in the town of Mountain View so we could stretch our legs and take a little break.  It just so happens our new pastor and his family hails from Mountain View.  Such a nice place. We stopped in a little shop run by the Artist Guild in that area and found all sorts of goodies made by the local artists there.  These handmade brooms were my favorite...


Aren't they cute?

Because it was a business trip our expenses were pretty much paid in full, YAY.  We were put up a VERY nice hotel, the Berkshire Inn.


I wish I had takem more pictures of our room but we pretty much messed it up before I had the chance to get the camera out, so I cobbed this one of our exact room from their website...


It had somewhat of a three room layout.  There was the "bedroom" part with king size bed...


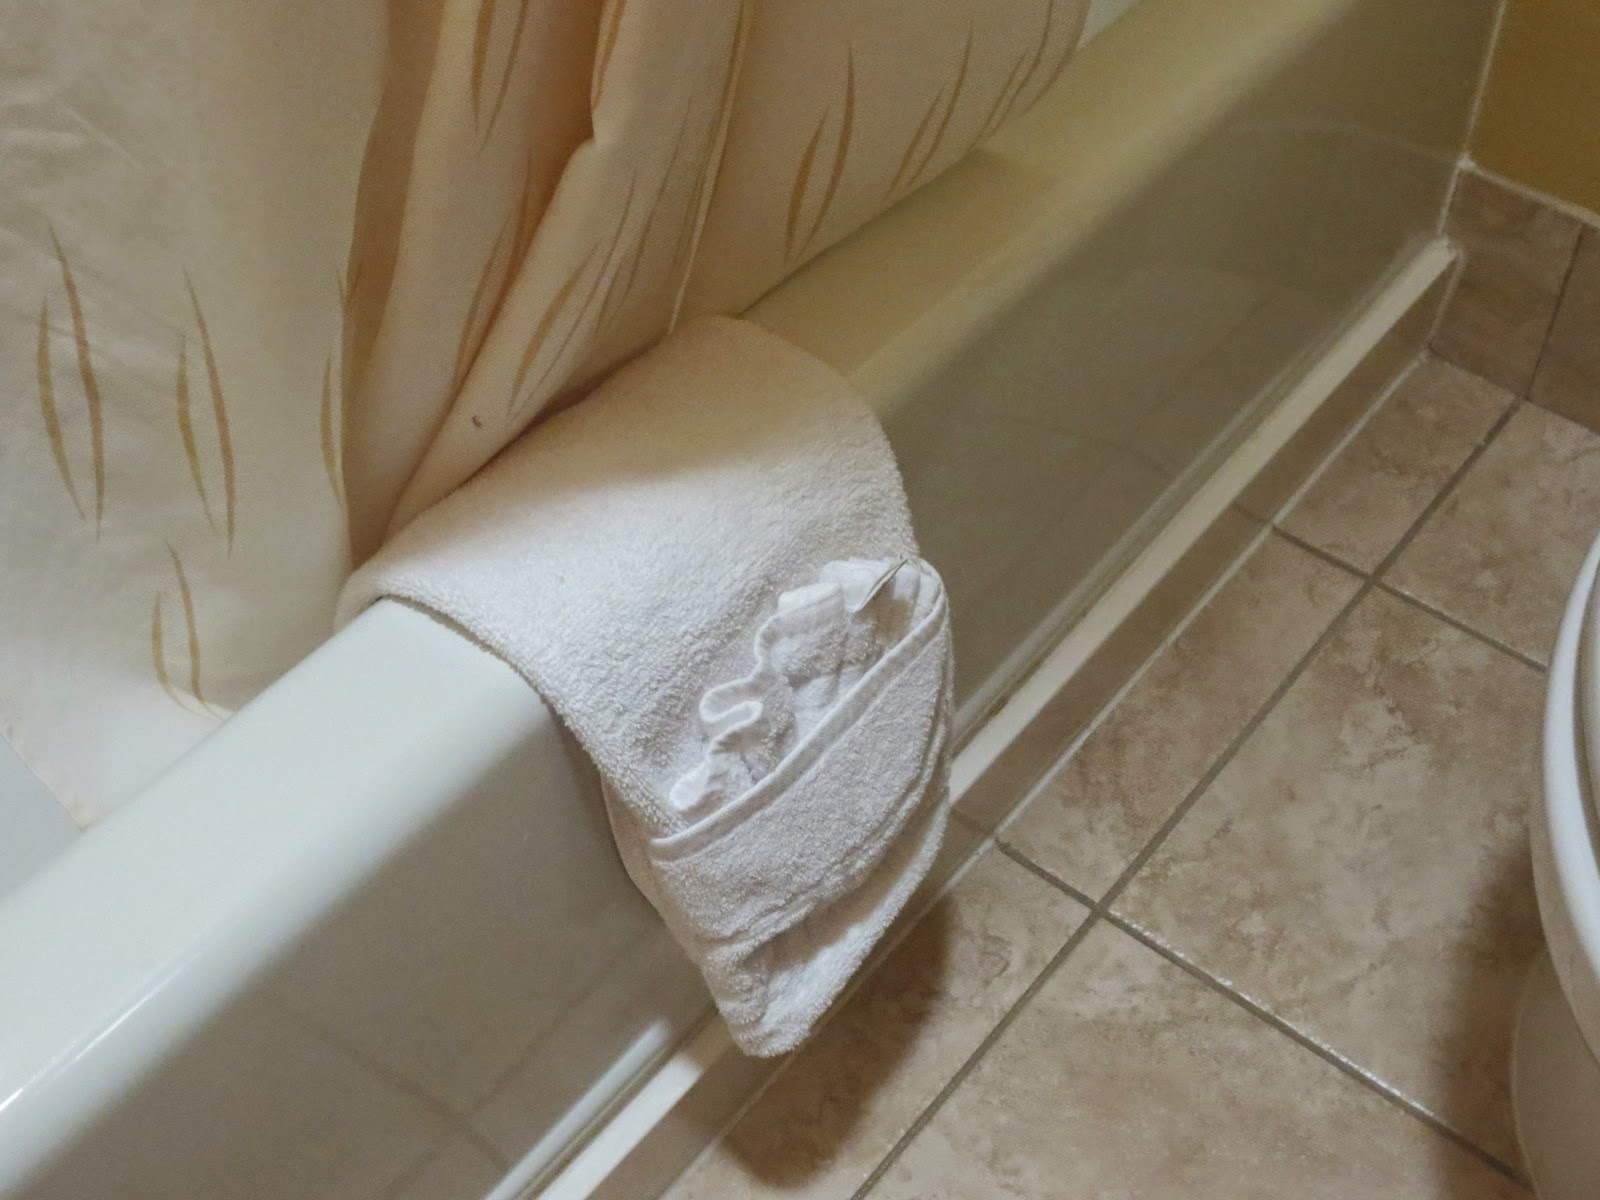
 A gorgeous on suite bath, with FANCY towels...


 and plenty of vanity space...


I especially liked that it had a beautiful "living room" with a comfy loveseat, coffee table and desk area (you know in case you had work to do). It was very homey and comfortable and we thoroughly enjoyed our stay there...


We traveled into the historic Hillcrest part of Little Rock on Thursday...Kavanaugh Ave, Cantrell Rd. and the Heights district. I wish I would have taken more pictures. The old historic homes and neighborhoods were GORGEOUS.  Most of the homes were decorated for fall and the one thing I found particularly neat was that many of them still had working gas lanterns and porch lights like this one...


I didn't find as many little shops as I had hoped but we did stop in one called Haus Werk (cute name)...very neat (also very expensive) but they have a ton of great stuff. You can visit their site HERE if you want to do a little shopping with them.

They were getting ready for Christmas so I snagged a picture or two of a few Christmas Ornaments I would like to copycat...


These are very simple little chalk boards with a wooden clothes pin glued to the back for clipping to the tree or whatever you want it to hang on...


So cute, right? It's looks like they would be really easy to recreate.

I also adored this GORGEOUS cotton boll wreath and would have loved to bring it home with me but as I said, very expensive...


On the way home Saturday we hit a ton of flea markets and shops.  My favorite was in historic downtown Conway....


The name of the shop, PARK HILL HOME. You can check them out on Facebook HERE.


They were all decked out for the holidays and are packed to the brim with gorgeous and unique home decor...I only took a couple pics but you can see more if you go to their Facebook page.


Absolutely GORGEOUS stuff but you better have a boatload of money if you want to do any shopping with them. Their prices...RIDICULOUS!!! As were all the shops in that area.

The outside of the shop was all decked out too with a little fall...


and a lot of Christmas...


SERIOUSLY, go to their site to see more of their GORGEOUS decor.

Seeing all their decorations has put me in the mood to do a little Christmas decorating myself but I must hold off.  I NEVER put anything Christmas out until the day after Thanksgiving...which is just two weeks away...WOW, how'd that happen. This year has FLOWN by.

I believe gratitude should be a daily thing but I also do not want to diminish Thanksgiving by celebrating Christmas beforehand.  That's just me and it's our family tradition that nothing Christmas comes before giving thanks, but when the time comes to deck the halls you can bet they will be decked.

I spotted this at our last shop before heading back to Missouri and I REALLY, REALLY wanted to bring it home with me but it would never have fit into our PT Cruiser, though I seriously would have tried if the hubs would have given me permission...


Isn't is cute?

It was a long drive home from there and it was fun but I sure am glad to finally be home.

PS. The new rug(s) from RugsUSA (yes, I not only got one for the dining room, but the living room too) arrived while I was out of town. I have since put them in place and I absolutely love them.  I hope to have a few shots of them next week.

Until then, have a GREAT weekend. Ciao!


Friday, October 31, 2014

A TRIBUTE TO THE ANTIQUE CHINA CLOSET AND INFO ON THE DINING ROOM MAKEOVER...

Well hello there! Long time no bloggy.  Sorry for that. It's been a busy week or two around here preparing for the Bub's birthday party and other fall events but I'm here today to let you all know that my vintage china closet has sold.  I was serious when I said that I wanted to sell everything in the dining room and replace it with something that is more my taste and style.

As you know I sold the buffet a month or so ago and used that money to buy a nice china cabinet which I plan on painting as soon as I can figure out how to get the glass out of it...(ha I guess I should have thought about that before I decided I needed a china cabinet with window muntins)...most likely that will be the last project I tackle in this little dining room makeover.

I am super excited now that I have sold the vintage china closet because...the money is going towards my new Restoration Hardware style dining table that my father-in-law is building for me...it should look something like this when he's finished...


Purdy isn't it?  Yep, I can't wait! However, I suppose I should take a moment and pay homage to the old china closet. After all she did hold lots of china and had a great sturdy top that saw lots of decorating and vignettes over the past few years that I had her...hmmm, kind of makes me wonder about her history and how other ladies in the past used her (or decorated  her).  Oh the stories I bet she could tell.

Anyway, I thought I would share with you some of the looks she has sported since I have owned her. Sounds like fun, doesn't it?

She started out looking like this...


but I wasn't too crazy about that look so I changed it up a bit and this is what she looked like during the rest of her stay with us...


Minus this kitten, of course!!

I especially loved to decorate her up for the holidays...


I couldn't find all the holiday pictures but she has been decorated and redecorated to the hilt for each and every major holiday. I've had so much fun with her!

I sure will miss decorating her up, especially since the only flat surface I have left in the dining room to decorate or add a centerpiece to is the dining table, but that's quite alright because I am really looking forward to the new dining table. It's going to be fantastic!  Besides, I know this little cabinet is going to a good home and will see many more years of good use...

The lady who bought her told me that she was going to paint her all up in shabby chic style and use her in the bathroom as a towel/linen closet.  Sounds like a great plan to me.  I wish I would have told her to send me some pictures of the transformation. It would be fun to see her in her new home wouldn't it?

So now as far as the dining room transformation, I will be selling the old dining room table and chairs as soon as I get the 6 original chairs that came with the table painted (they are not shown here)...


I also will be selling the red and cream rug...


This was the only decent shot of it I could find.  I am excited to say that I have already ordered it's replacement....


A chunky jute rug from RugsUSA.  They are having a 75% off sale this week (I figured I would let you in the on the secret in case you want to save big money on a nice rug for yourself). The sale ends Monday so you better hurry! 

Mine should arrive at the house sometime next week. I can't wait!

I am taking this whole dining room makeover one step at a time...selling what I don't want, to buy things I do want and I am trying to choose the things I buy carefully so that I am truly happy with the end result of this makeover.

This is the first time I have tried this sort of method for redoing a room and so far things are working out great and progressing much faster than I thought they would. I usually buy first and then sell what I don't want later at a yardsale or something but I think this way is working out much better with far less work and with less spending too, believe it or not.

I am making more money by selling my items on Craigslist instead of at yard sale prices (or just giving stuff away to get rid of it).  I am also saving money by purchasing items when they are on sale or at a reasonable price on Craigslist and DIYing things whenever I can. Plus, I will not have to go through the work of storing, pricing and setting up a yard sale next year just to get rid of the things I don't want...they will already be gone to the wonderful shoppers on Craigslist.

I think I am going to do a little tally at the end of this makeover to see how much money I saved or spent throughout this whole process...i.e. what the bottom line is...I'm curious to know and I'm sure you are too, right?

If the results are good (which I believe they will be), I think I am going to try this method for the living room redo as well.

For now I am just taking one room at a time...it's WAY less stressful that way...and if there is anything I need less of these days it's stress! Hahaha.

Anyway, saying goodbye to an old piece of furniture has never been so fun and full of excitement.


What have you been up to lately?


Blogging tips