
My pastor is pretty new to our church so I wanted to make him and his family feel welcome and truly appreciated for leaving their home in Arkansas to be with us here in Missouri. I figured some fresh baked goodies should do the trick...

Yummm, fresh baked Pumpkin Bread and Apple Streusel.
These breads turned out fantastic even if they were made from box mixes (shhh, that's our little secret) and I needed an equally fantastic looking way to package my little appreciation gifts.
They say (whoever "they" are) that the best gifts come in plain brown paper but I have to disagree. I think the gift wrap should be just as pretty or as good as the gift itself. It's all about presentation, don't you agree? With that in mind I made some super easy FRENCH FLOUR SACK GIFT BAGS...

I used simple supplies I already had on hand. To make the bags themselves I used simple inexpensive flour sack towels from Wal-Mart...

They come 5 towels in a package for just $4.88. You can make three decent size gift bags from just one towel.
Here's how to make them...

1. Fold the towel lengthwise in thirds and CUT along each fold.
2. Iron each section to remove any wrinkles
3. FOLD each piece in half where to two finished edges meet at the top.
4. SEW a straight seam down each of the raw edged sides
Viola' the sack is finished. I could've stopped right there and packaged my bread but I wanted to make my sack just a little fancier with a little french flair so I used the "Freezer Paper Transfer Method" to add some french typography labels from The Graphics Fairy to the front of the bags...

I did this with freezer paper, an inkjet printer and an iron. Here's how...
1. CUT the freezer paper into an 8 1/2" x 11" sheet (standard printer paper size). You can use a regular sheet of paper as a template.
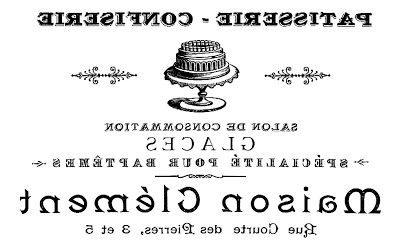
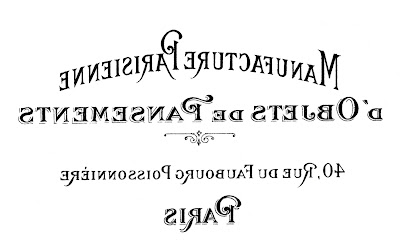
2. PRINT your graphic onto your freezer paper using an inkjet printer. Freezer paper has a shiny side and a dull side. You will want to put the paper into your printer to where the graphic prints onto the SHINY side of your paper. If your graphic has any kind of lettering or numbers you will need to print it as a mirror image. The Graphics Fairy site has all kinds of great images and many of them are already in mirror image format.
NOTE: You want to make sure that you are using an Inkjet printer and not a laser printer for this transfer method. Laser printers use heat to print the toner onto the paper. Freezer paper has a plastic side that will melt and stick to the inside of your laser printer. It will RUIN the printer. DO NOT use a laser printer for this transfer method!
3. Position your freshly printed graphic face down onto the front of your sack. Be sure not to touch the ink with your fingers it will smudge.
4. Place your hot iron (no steam) on top of the graphic and iron for about 60 seconds until freezer paper is adhered to the sack.
5. Using the back of a spoon or edge of a credit card and using pressure burnish over the entire image to make sure everything is set and then lift the paper off.
Your image should now be on your sack. Yay!! Note: the image will be a little more faint than the original printed image but I think that makes it look more authentic.

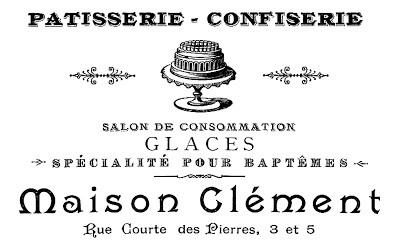
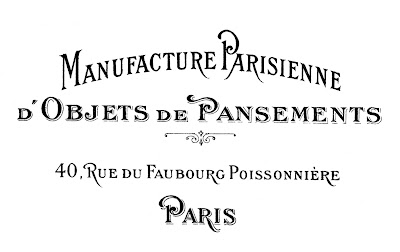
I used these images from The Graphics Fairy for my gifts bags...
French bakery label...
Paris Manufacturing typography label...
I really like the french bakery bag and thought it was perfect for my home baked goodies gift to the pastor...

It took no time at all to make these cute little bags. From start to finish took about as much time as it took for the bread to cool after coming out of the oven.
Once everything was ready I wrapped each loaf in a sheet of waxed paper and tied with jute twine....

Two 8" x 4" loaves fit in just one bag...


I tied the top of the sack closed with a length of twine....DONE!
I really love how these super easy FRENCH FLOUR SACK GIFT BAGS turned out. It was a FUN project too. I hope you will try it. Each sack costs about .30 cents to make. Less if you make more than 3 sacks per towel.
I'm thinking these would be PERFECT for Christmas!

Sharing at:
Grace at Home
This was a featured post at Imparting Grace. Be sure to go check it out! Just click the featured button.


LOVE this idea! I've pinned this to my Gift Ideas board, and I'm going to do this!!
ReplyDeleteThanks so much for joining the Grace at Home party. I'm featuring you this week!
This is awesome! I just bought a big pack of those bags last night at Sam's Club.... Guess I have a project for next week... Thank you for a very detailed tutorial...
ReplyDeleteThank you for sharing such great information.
ReplyDeleteIt has help me in finding out more detail aboutportico towels